“Winter came to an end, and spring arrived, in its fully glory…”
– Henry Orenstein
We have a short winter here in Punjab, Pakistan; just 3, 4 months. Although we enjoy it to the fullest, it’s not very suitable for construction works. There are constant delays due to rain and cold weather. Now that the spring is here, we are not only enjoying the moderate temperatures, but also the work speed has significantly increased. This week, we finished our floor tile and false ceiling installation works.
The biggest challenge (it wasn’t that big to be honest) was that both the tasks were running in parallel. If the floor tiles are being installed in a room, false ceiling can’t be installed there because the tiles needed to be left to dry for a day. So, both teams work in different room without interfering with each other’s work. It was somewhat challenging, but at the end it worked out just fine.
Floor Tiles For Bathrooms
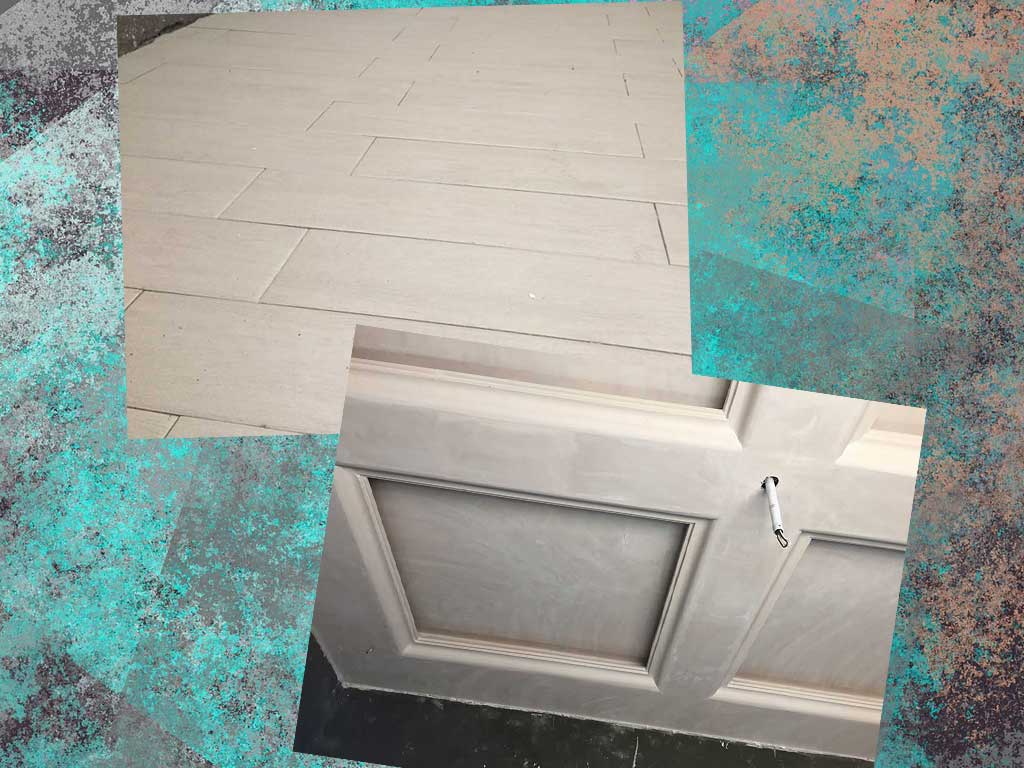
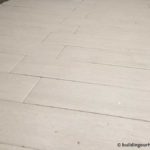
As we discussed before, we went with matt (non-glazed) porcelain tiles for our bathroom floors. We decided to use a lighter shade because the walls are already a bit dark. Adding a lighter shade floor will make the bathroom look brighter.
The tiles we chose mimics the wooden floor texture. These are 4 x 18 inches porcelain tiles in cream-ish color with a wooden texture. We also decided to install these in a zig-zag pattern, unlike the symmetrical pattern we did with the wall tiles. We installed the tiles in one bathroom to see how they look.
Tiles looked more beautiful then we expected. They mixed very well with the (slightly) darker wall tiles, and from floor to ceiling it became a very nice pattern of light – dark- light colors. With our approval, our team installed those tiles in the remaining bathrooms. While we were at it, we also installed the same tiles on the floor of our back-alley. See gallery below:
Finishing the False Ceiling Installation
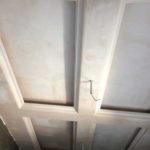
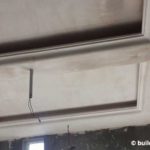
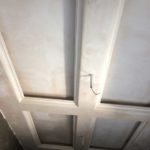
Our other team worked very hard to complete the false ceiling installation in parallel with the floor tile installation. Although we kept the design of false ceiling very simple, there were small modifications in design/size according to the room’s shape and size.
Boxes were square in some rooms and rectangles in the others. Some rooms had 4 boxes and some had more or less. We also installed false ceiling in our porch area. We designed it a bit different because we’ll not install LED strip here.
You can see different design patterns in the gallery below. They are more or less the same, and that’s intentional. We wanted it to look same but not identical, and I think we did a pretty good job.
Let us know what do you think. If you have any suggestions/questions, feel free to leave them in the comments below.
