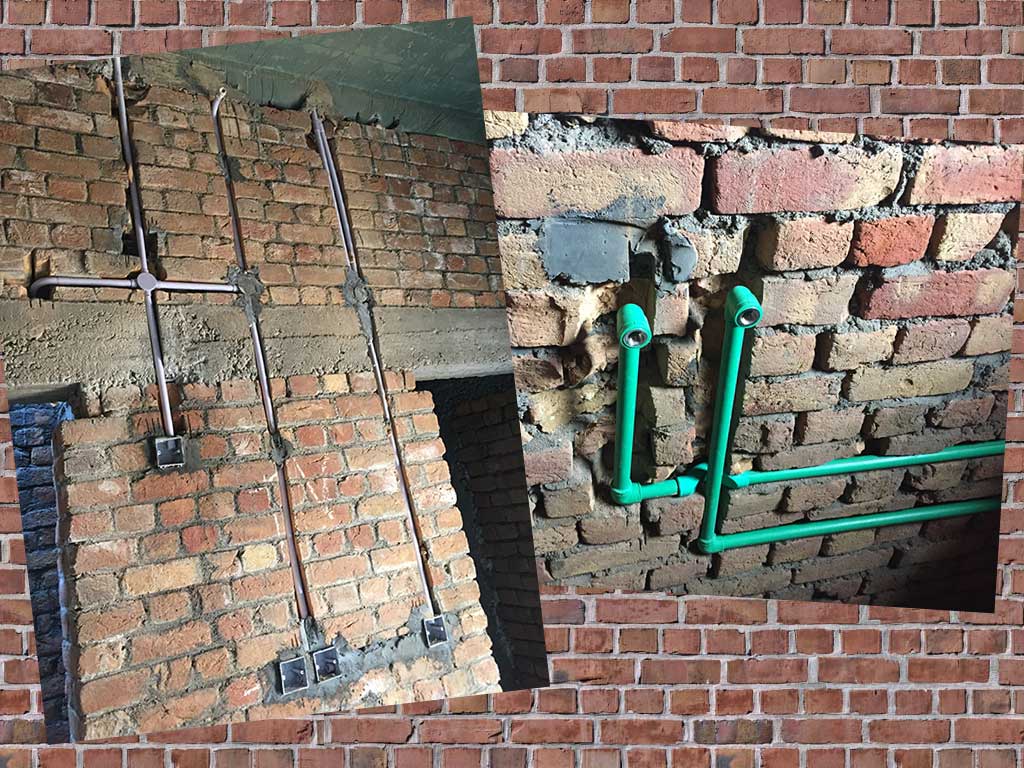
While the shuttering is still on, we’ll keep on watering the concrete for the next two weeks. It strengthens the chemical bonding and decreases the chances of cracks in the concrete. In the meantime, we’ll focus on electrical wiring of the rooms, and plumbing.
Electrical Wiring
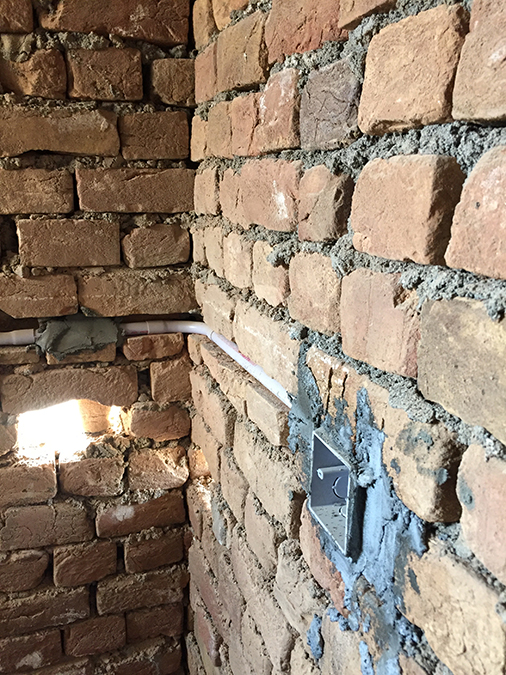
When we were planning to design the house, one thing was very clear. We knew that the power outlets are never enough. You might think that you won’t have much electrical devices but once you start living in the house, you will always be looking for a free outlet.
That’s why when we were designing the house, we discussed it very thoroughly as how many outlets do we need and where. We decided that there will be a “Main Switch Board” and two “Power Switches” (if not more) in every room.
Main switch board will have the switches for lights, fans etc, i.e. the permanent electrical fixtures for the room. The other two power switches will be used for portable electrical devices, i.e. computers, mobile phones, vacuum cleaners etc.
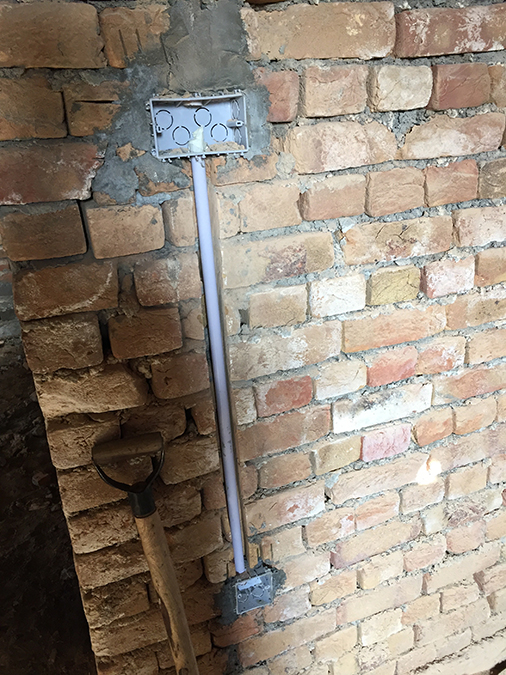
We decided to go with ‘False Ceiling’, so while doing the electrical wiring, we also left points for light fixtures and fans, which we’ll use once the false ceiling is up.
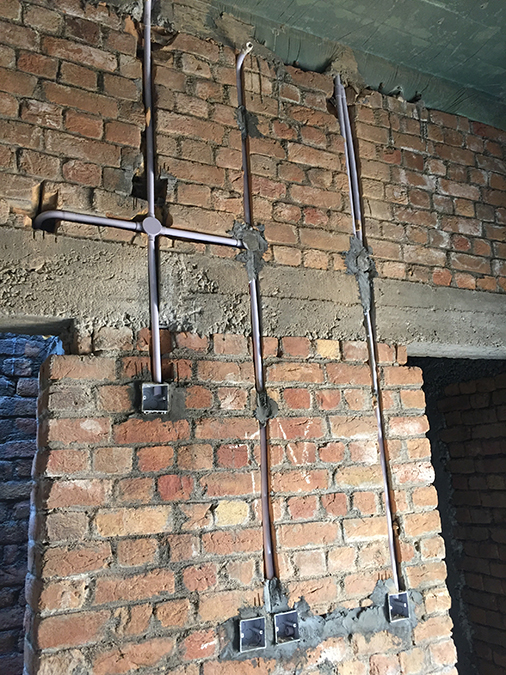
Kitchen is where most of our portable electrical devices will be placed. So we made sure that the outlets are closer to where we want to place our microwave, coffee maker etc, and that the outlets are evenly distributed across the walls.
Being living in a warm and humid place, we definitely need air conditioning. We also selected the walls in our rooms to mount the Split AC unit. AC units will have their own power outlet.
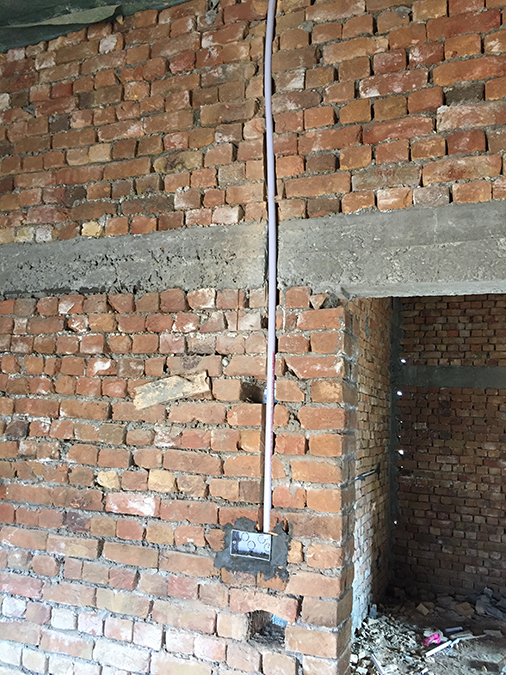
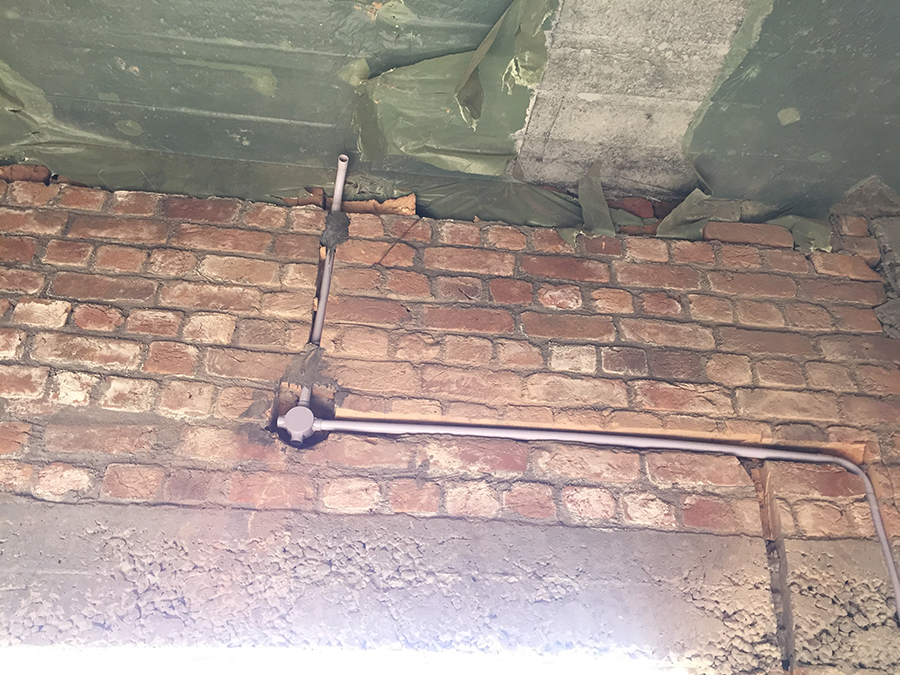
AC units, while working, will also produce water and we are going to drain that water. What to do with that water, you may ask. This leads us to next section of this post.
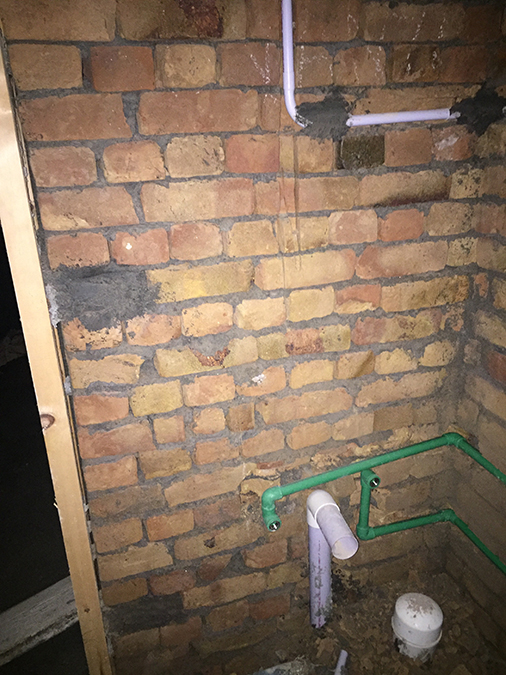
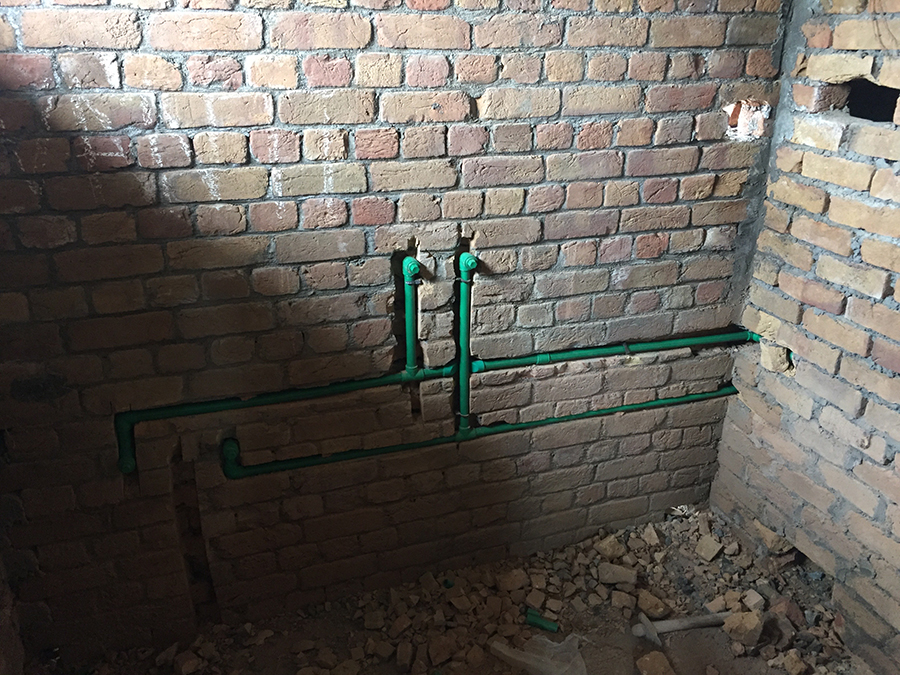
Plumbing
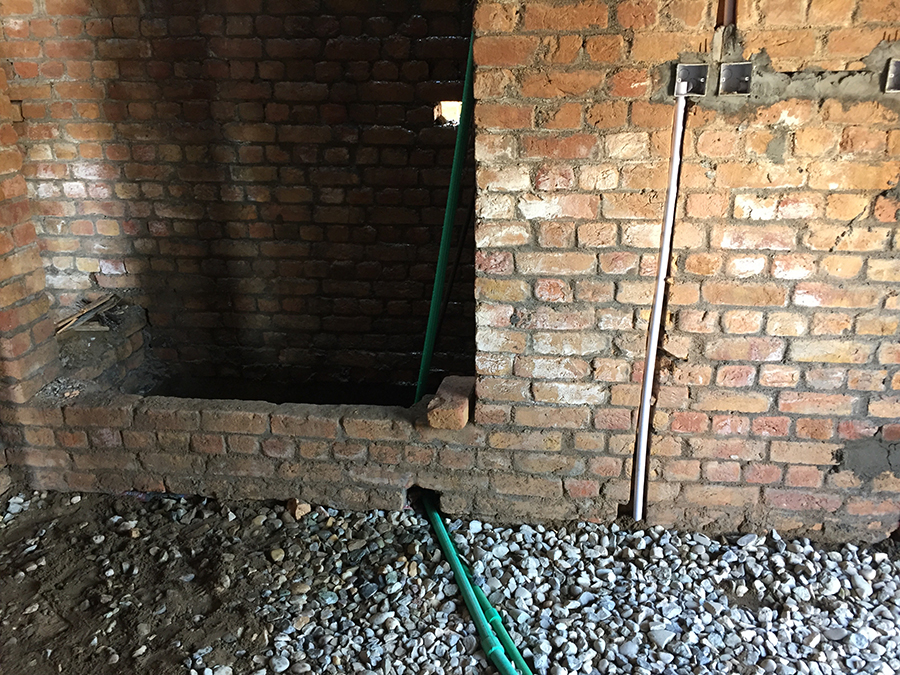
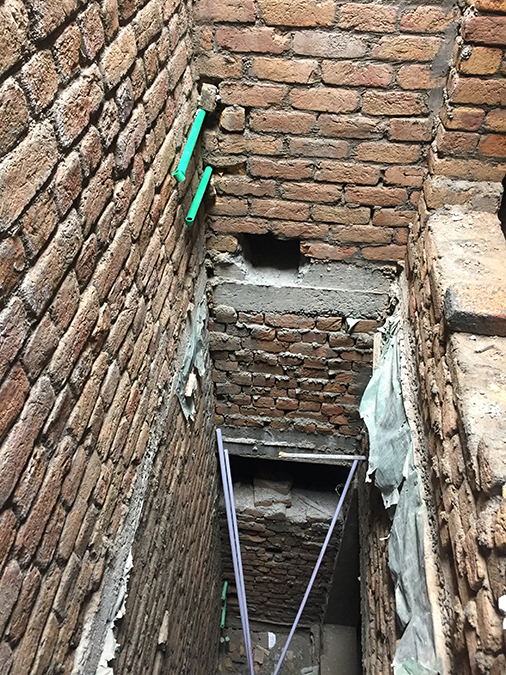
Just like electrical wiring, plumbing also needs to be carefully planned before execution. In our design, we have two smaller manholes and a bigger septic tank. All the sewerage will go to either of these two manholes, and then to the bigger septic tank.
One of these manholes is in the back alley, i.e. at the backside of our house. The other is in the OTS area of our house. What is OTS? We’ll discuss it later. For now, you should know that it is roughly in the center of our house. These two manholes can easily cover the whole area of our house.
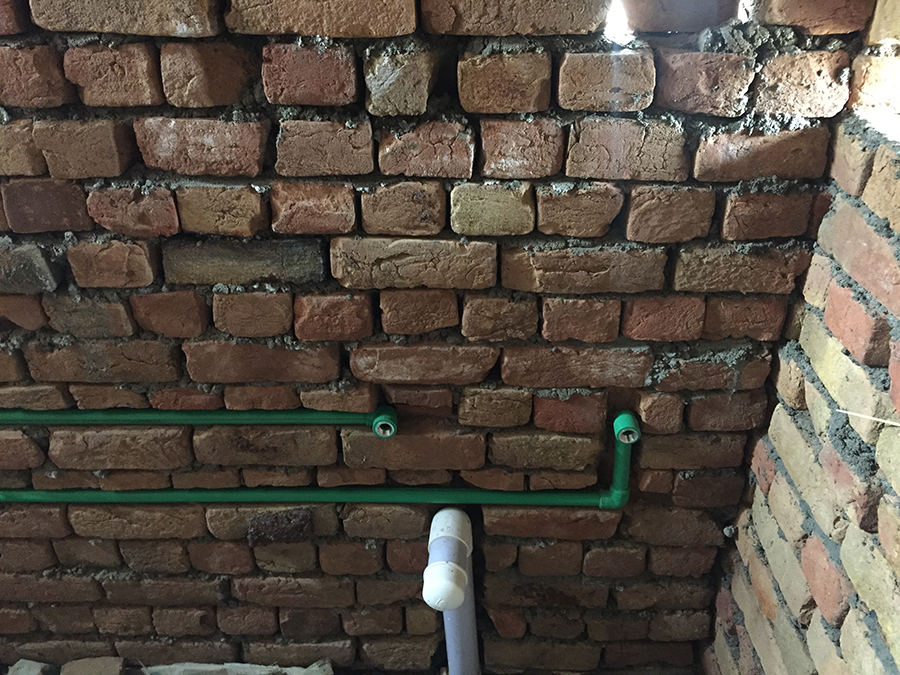
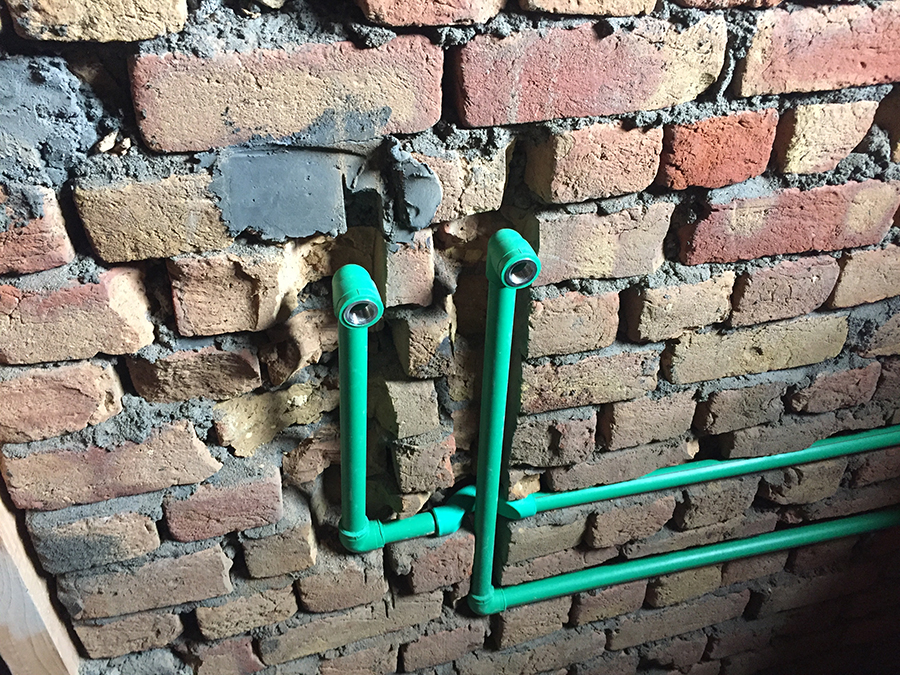
The first task is to place the plumbing pipes and decide the optimal plumbing lines from rooms to manholes. Obviously we don’t wanna overwork a manhole so the lines are distributed among the manholes evenly. We also placed the pipes for the water from AC units.
This is just the first step of the plumbing process. It makes sure that the pipeline reaches every place where it is required. When we start to place washbasins, showers, toilets etc, we are just going to connect them to the sewerage pipelines and they will be functional.
The construction hasn’t finished yet. We are going to built a room and boundary wall on the top floor, as soon as the shuttering comes off.
More on that later.


Pingback: Considerations for House Construction in Spokane