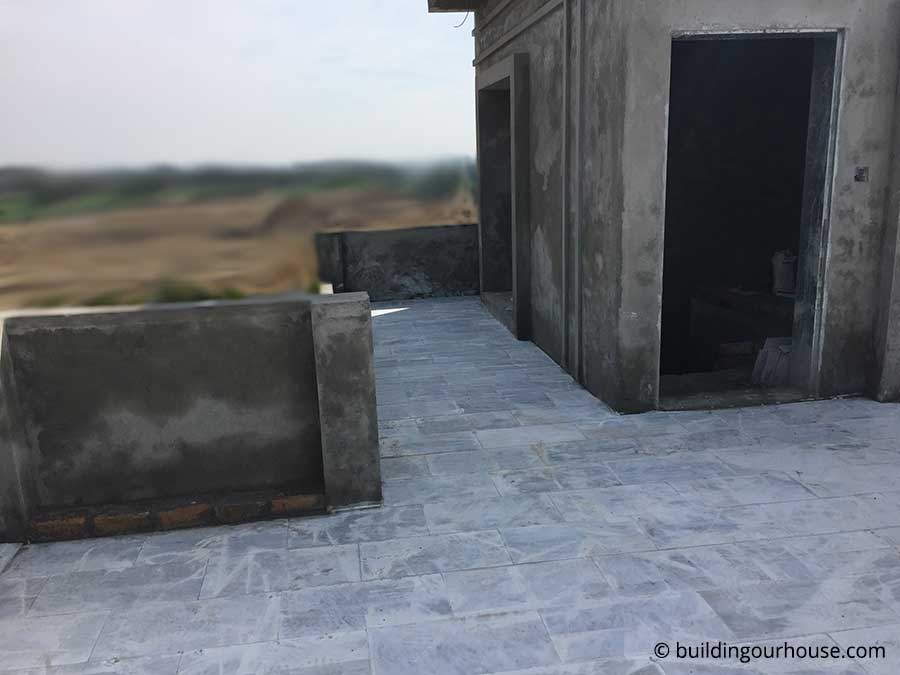
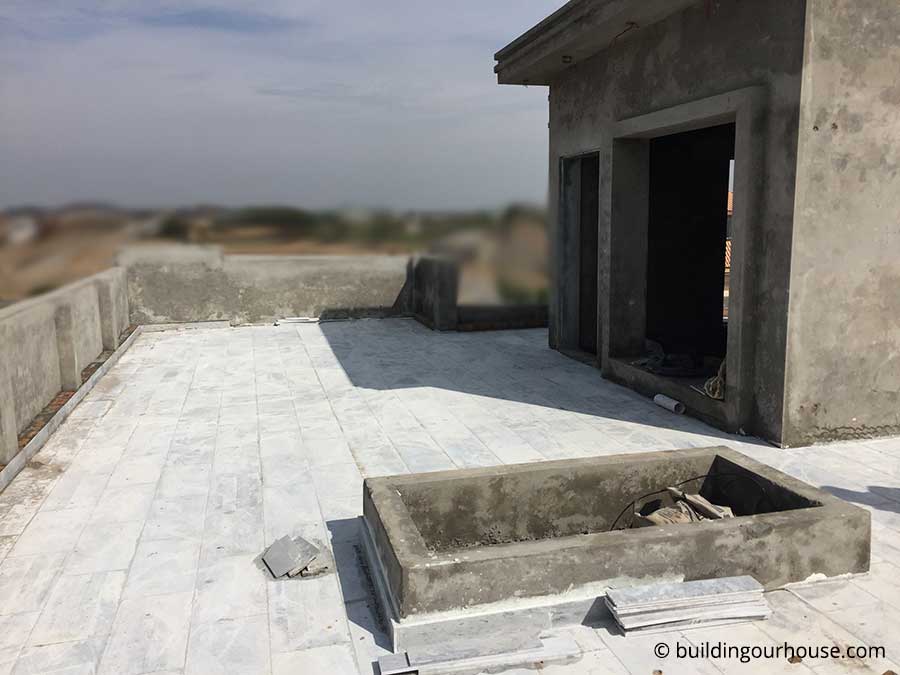
A good part of this week was spent on installing the floor tiles on roof. Making sure that the ground is leveled properly and then installing the tiles one by one, the task is not as easy as it seems. It took a team of three about 5 days to complete the floor tile work.
Challenges?
The shape of our rooftop also has something to do with it. About 75% of our roof top is a plain floor, while remaining area has some challenging curves and shapes. That made our team to stop their work and think. For example, the roof of our Terrace area is slightly lower the the roof of second floor. Tile work for this area was done separately.
We also have an OTS (open to sky) right in the middle of the structure, a water tank and a mumty room at different corners. They are scattered across the roof so it took us some time to decide that how we want to install the tiles in these areas.
Having a team of professionals is a blessing. It took some time but when the task was finished the results were beautiful. See the gallery below:

Tiles’ installation on lower floors
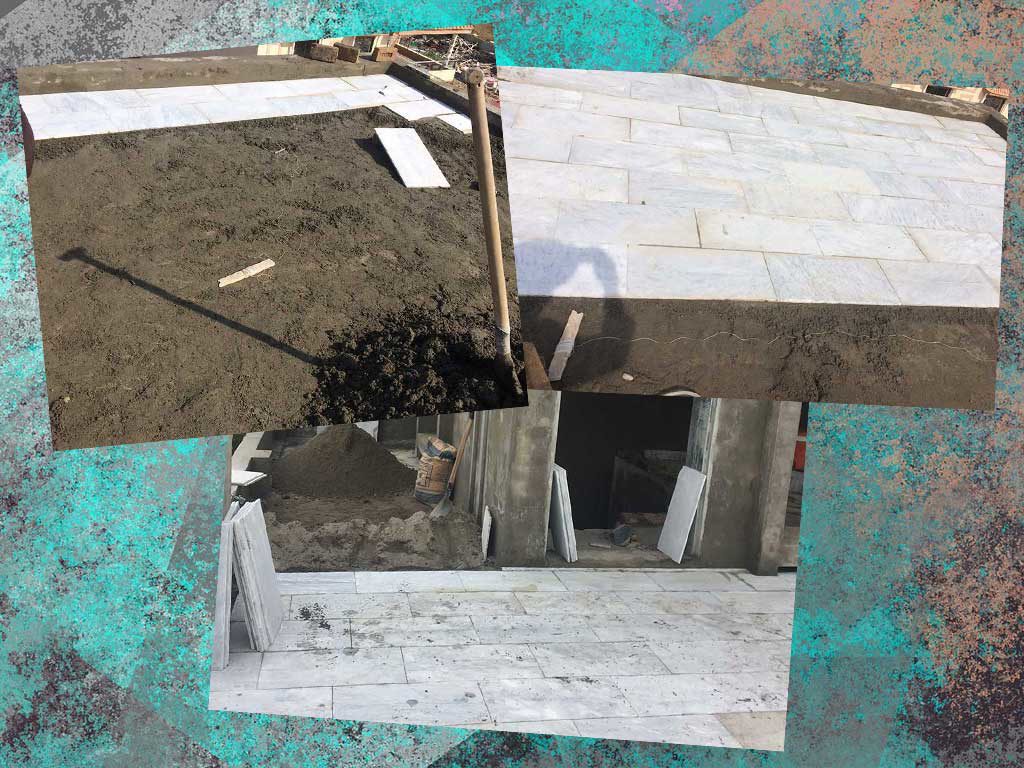
Now we are going to move down the floor. But before we can install the tiles, we need to level the floors first. Since the grey structure, we haven’t touched the floors yet. They are very rough and irregular shaped concrete slabs. We need to level them before we can install the tiles.
Our team decided to level the floors using the mixture, leave it for a few days to get solidified, and then install the tiles. Installing the tiles right after pouring the mixture is never a good idea. Let it solidify first, and then install the tiles.
The mixture used for leveling the floor is cement and sand. Our team started to make the mixture, pour it into the room, level it, and move to next room. This process will be repeated for all the room on first and ground floor.
What about Tile installation?
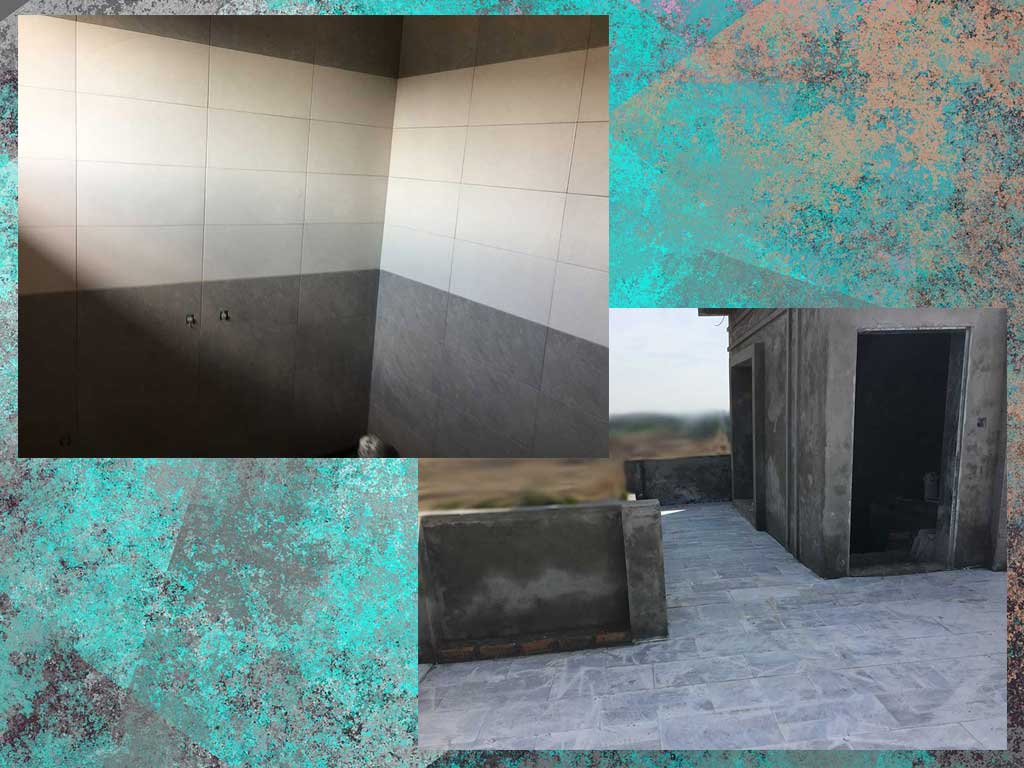
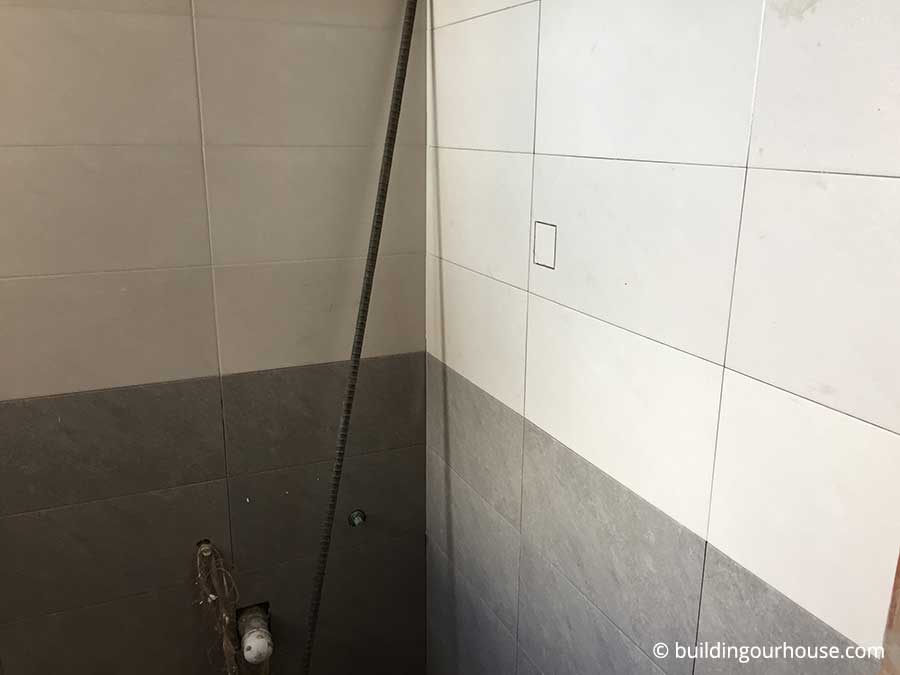
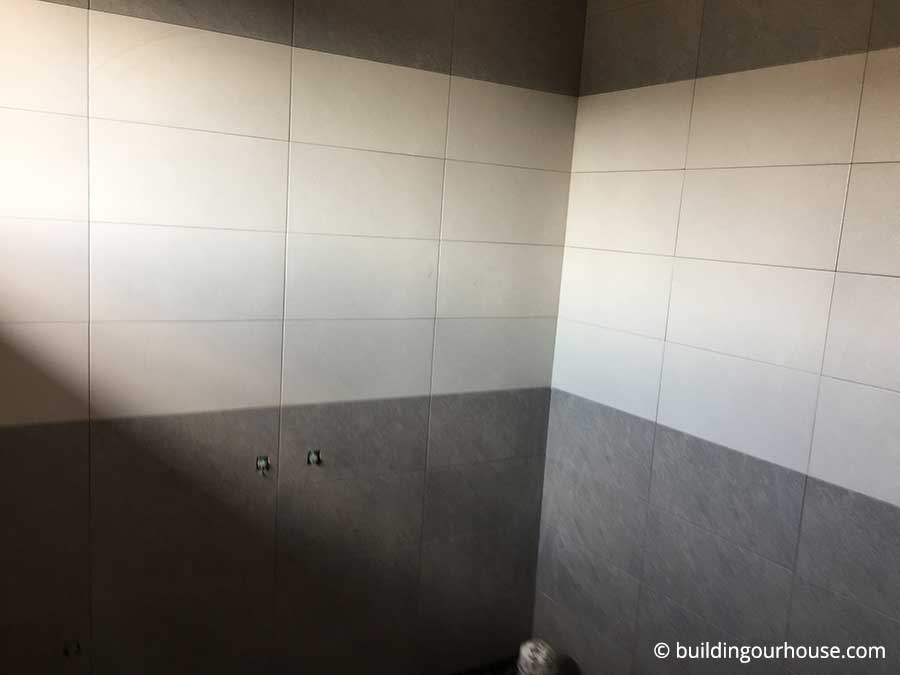
While our team is leveling the floors, we can’t leave our other (tile installation) team sit idle and waste time. They can install the tiles on the bathroom walls, as they were already leveled during Cement Plastering. So they started working on it.
As discussed before, tiles on the bathroom walls will be two-toned. From floor to about 4 ft height, tiles will be dark colored. Then a 4 ft of light colored tiles, and above that the dark tiles will start again and reach to the ceiling. We installed the tiles on one wall of the bathroom, just to see how it looks, and the result surprised us. It looked way more beautiful then we thought it would. See gallery below.

Previously we were thinking of leveling the floors, waiting for a day and the start installing the tiles. But now we have decided to first level all the floors. Within that time we can install the tiles on bathroom walls (we have 4 and half bathrooms). It will take us a few days and we can run two tasks parallel to each other. As soon as the bathroom wall tiles are done, we can move on to the floor tiles.
Let us know if you have any suggestions. Feel free to comment below.